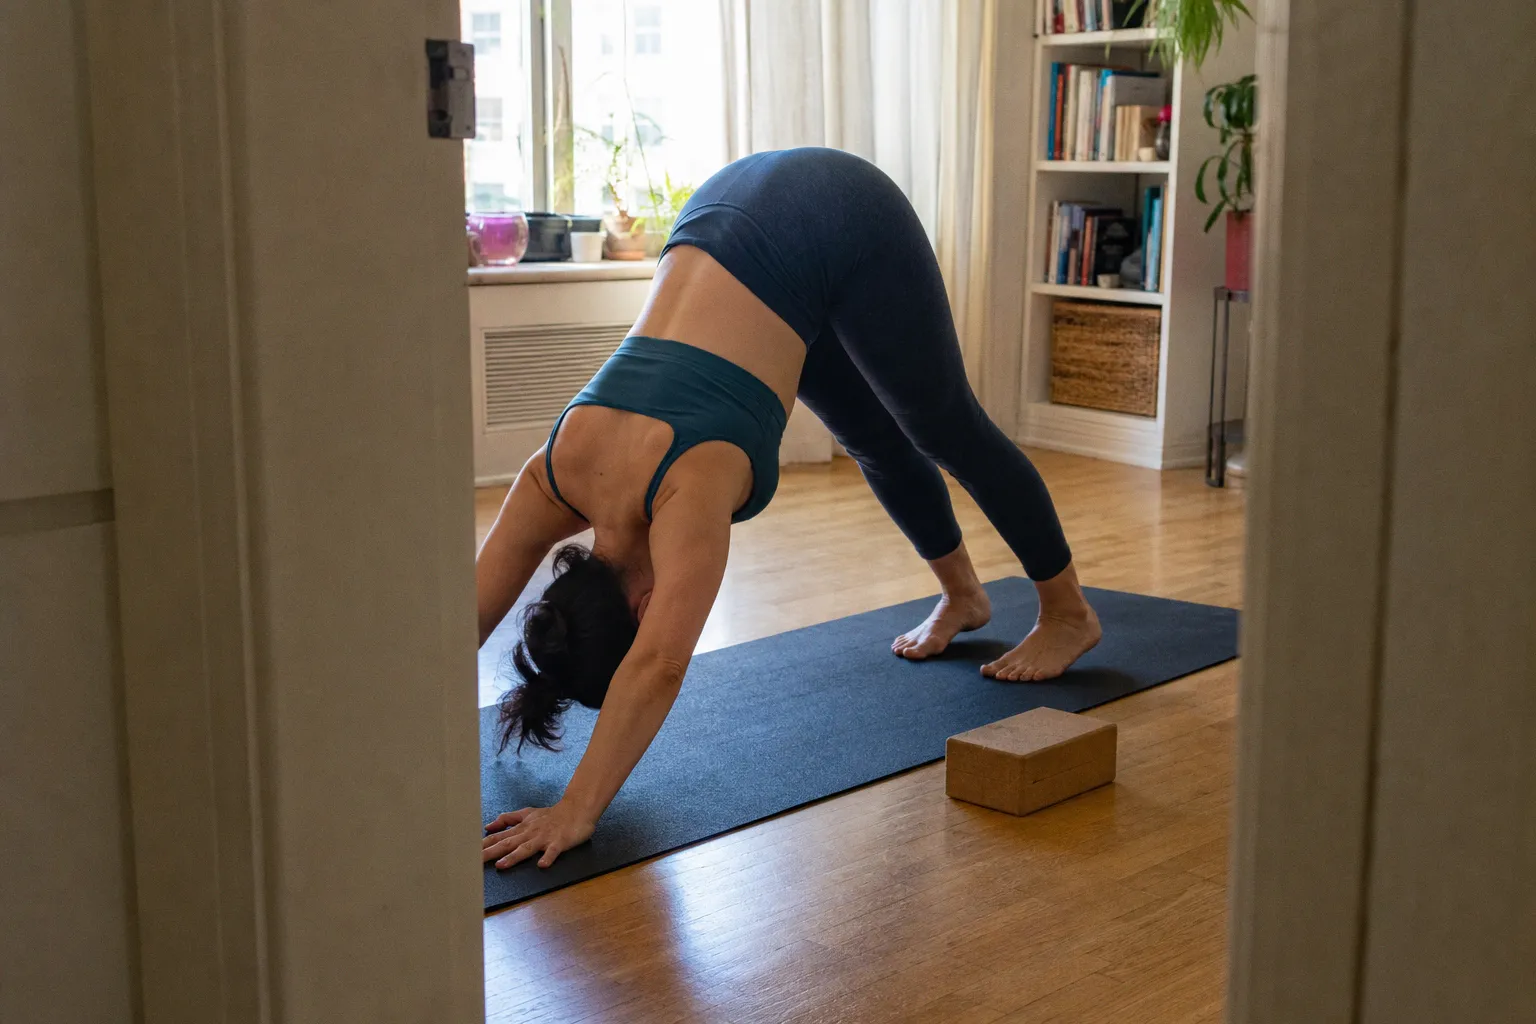
You're four weeks into a home practice and your Downward-Facing Dog looks like a melting capital A. Your hamstrings scream through every forward fold.
The Proprioception Gap: Why You Feel Lost on the Mat
When a teacher cues you in a studio, half the work is being told what your body is doing. At home, that feedback loop is severed. You watch a video, you mimic the shape, and you have no way to know whether your spine is actually neutral or whether your pelvis is silently tucking under you. That missing piece has a name: proprioception. It is the body's ability to sense the position of its own joints in space without looking. Beginners usually have weak proprioception through the hips, shoulders, and ankles — which are exactly the joints yoga demands most of.
The fix isn't stretching harder. The fix is teaching the nervous system where the body actually is.
How to close the gap:
- Film every session. Set your phone against a stack of books at hip height and record for the first month. Video doesn't lie.
- Cut the tempo in half. Move through Sun Salutation A at half the instructor's speed. If you can't maintain awareness of joint position at slow speed, you have no business adding velocity.
- Lock the eyes. In standing balance work, stare at a fixed spot on the wall. Gaze stabilization drives the vestibular system and helps the ankle stack under the hips.
- Stand on one foot during brushing your teeth. Two minutes a day. The hip stabilizers don't care if they happen in warrior or in a bathroom.
Most home practitioners quit around week three because the silence on the mat feels like failure. It isn't. It's under-developed proprioception. Treat it as a strength skill, not a flexibility one.
The Hidden Mechanics of "Yoga Butt" and Overstretching
There's an overuse injury that shows up so often in new home practitioners that the online community has a nickname for it: Yoga Butt. Clinical term: proximal hamstring tendinopathy. It isn't a tear and it isn't a pulled muscle. It's the small tendons that anchor the hamstrings to the sit bone — the ischial tuberosity — getting overstretched and inflamed because you keep chasing depth in forward folds without controlling the pelvis.
Here is the mechanism. In a forward fold, the hamstrings lengthen from above (pelvis tilting forward) and from below (knee straightening). When the pelvis is locked in a posterior tilt — tailbone tucked under you — almost all the lengthening has to come from below. The muscle belly can usually absorb that. The tendon at the sit bone cannot. You sit with a dull ache deep under the glute, sometimes radiating down the back of the thigh, that gets worse the day after class and never fully clears.
Pull the floor toward your hips by pressing through the inner heel and big toe. Stack your pelvis over your ankle instead of dumping the hips forward. The fold happens at the hip joint, not from the lower back.
Stop bouncing into a fold. Bouncing is not depth. Stop grabbing your toes in Seated Forward Fold on day one if your torso is round and your pelvis is shoved back — that's how Yoga Butt starts. Loop a strap around the feet, keep a flat spine, and breathe for ten slow cycles. The day you can hold a flat back with the strap taut and breathe normally is the day you start progressing toward the foot.
Equipment Pitfalls: How Your Mat Choice Impacts Stability
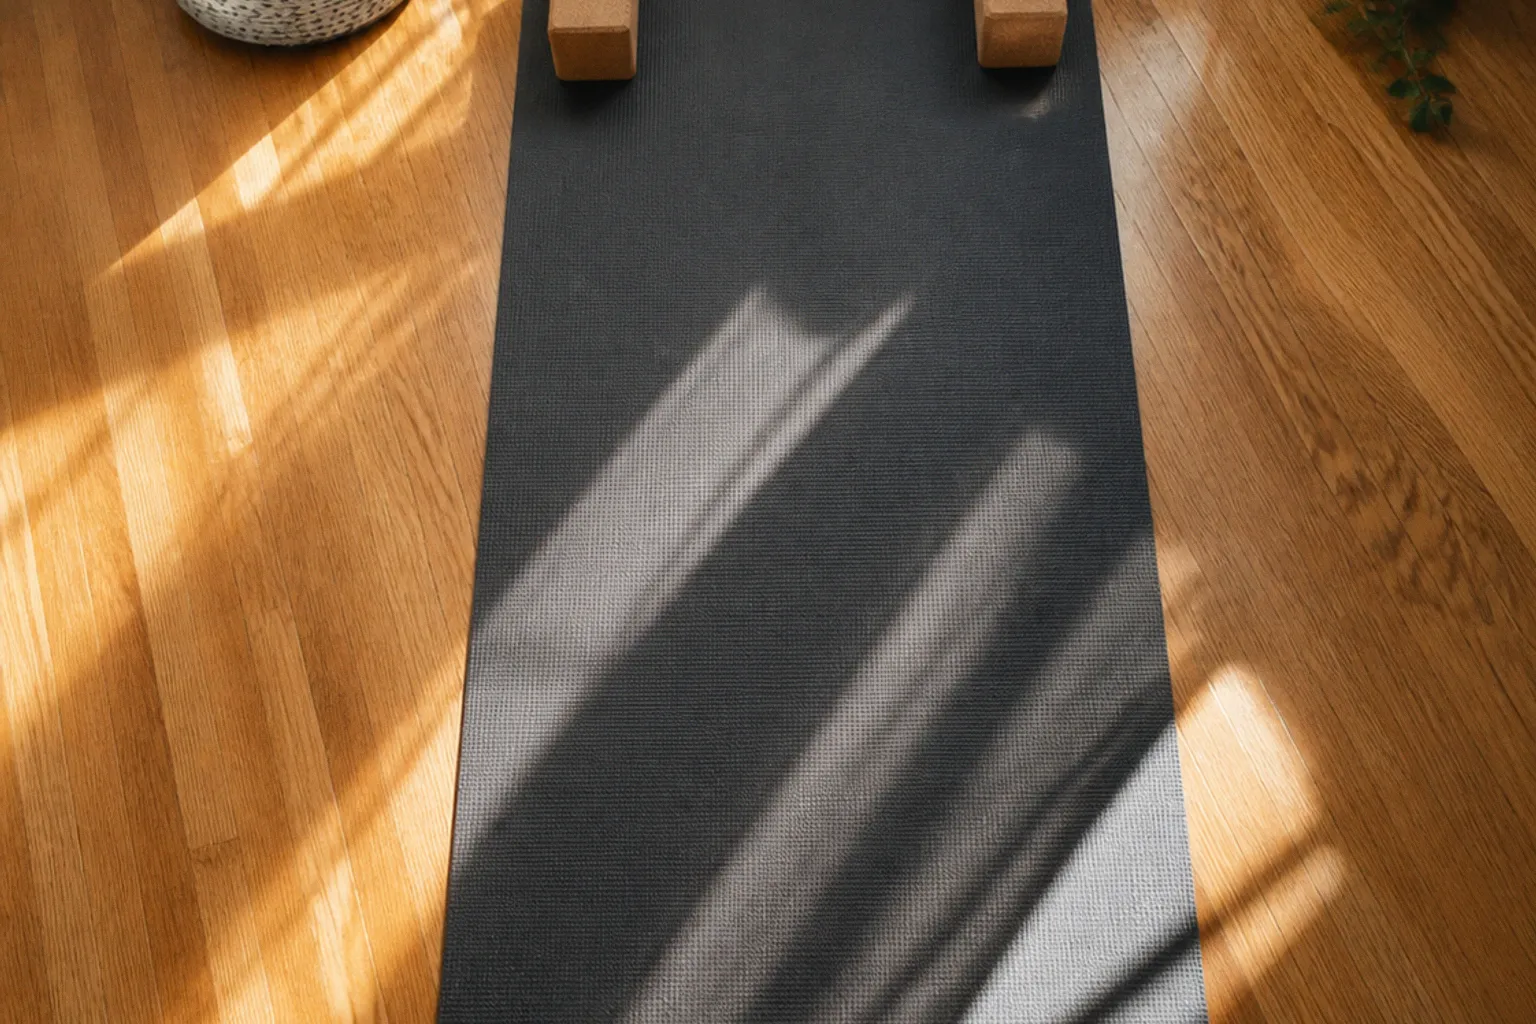
Mat thickness is one of those decisions that looks cosmetic and behaves structural. Standard yoga mats run 3mm to 5mm thick. That range sounds narrow, but the difference between a 3mm travel mat and a 5mm cushion mat under your hands and feet is the difference between a stable base and a foam pillow.
A thinner mat transmits more information from the floor through the skin, which gives the joints more proprioceptive feedback — your body learns where the ground is faster. A thicker mat absorbs some of that signal and lets the wrist, ankle, or knee wobble without you realizing it. For balance-heavy standing work like Warrior III or Half Moon, a spongy base is exactly what you don't want.
| Mat thickness | Best suited for | Trade-off for home beginners |
|---|---|---|
| 1.5–3mm | Traveling, strong wrists/ankles, balance-heavy flows | Too thin if knees are sensitive; minimal cushion for long floor holds |
| 4–5mm | Standard home practice, knee sensitivity, seated work | Too soft for serious balance work; footing slides if grip is weak |
| 6–8mm | Restorative yoga, joint rehab, floor-only stretching | Almost unusable for standing balance; feeds instability |
If you only buy one mat for a home practice, get a 4mm mat with a textured, grippy surface (natural rubber or quality PVC) and skip anything marketed as ultra-cushion. The extra two millimeters won't save your knees in Pigeon Pose — it will sabotage your Tree Pose first.
Grip matters as much as thickness. A slick mat forces the small muscles of the foot and the rotator cuff to work overtime just to keep you planted. That extra muscular effort masks your real alignment. You think you're holding Warrior II; you're actually gripping to survive it. Test the mat under a damp hand. If your palm slides, you don't own the right mat.
The Trap of Advanced Vinyasa Flows for Beginners
Open YouTube, search "beginner yoga," and the third suggested video will be a 45-minute Vinyasa flow with arm balances, chaturanga push-ups, and transitions that load the entire bodyweight onto the shoulder in motion. That isn't a beginner sequence. It's a strength sequence with a yoga wrapper.
Vinyasa means the poses are linked with breath. In practice, that means you're jumping from Downward Dog to Forward Fold to Plank to Chaturanga repeatedly, sometimes eight to ten times in a single flow. Each of those transitions demands real strength:
- Shoulder stability. The rotator cuff and serratus anterior must hold the shoulder blade flat against the rib cage under load.
- Core bracing. The deep abdominals must keep the pelvis from sagging into the lumbar spine during Plank and Chaturanga.
- Wrist capacity. Load-bearing through the hands in Plank and Down Dog isn't a small ask; the wrists need weeks of progressive loading before they tolerate long flows comfortably.
When that stack is missing, the symptom shows up the same way every time. You grind through half the video, your shoulders burn, your lower back tightens, and you close the tab convinced yoga is uncomfortable. That isn't discomfort. That's an underprepared joint system being asked for output it can't produce yet.
Stop chasing the flow. Build the pattern first. Three weeks of single-pose holds will do more for your actual capacity than three months of memorized sequences.
The honest version of beginner home yoga looks like this: five to seven poses, each held for five to eight breaths, repeated three to five times. Transitions are slow. There is no peak pose. The work is in the holding.
Building a Sustainable Foundation: The 15-Minute Rule
This is where most online guides fail you. They tell you to "start slow," which means absolutely nothing. Slow has a number. Slow has a structure.
Session length: 15 to 20 minutes. Not 45. Not 60. Beginners who try to match studio-length classes burn out inside a month because their tissues, cardiovascular system, and breath control aren't adapted to sustained output yet. Fifteen minutes is enough volume to produce an adaptation and short enough that you'll actually do it again tomorrow.
Frequency: 3 to 5 sessions per week. Three is the floor for actual mobility change. Five is the ceiling before you start interfering with recovery from other training. Pick a number inside that range based on what you can honestly sustain for ten weeks, not for two.
Standardized session block:
| Phase | Time | Purpose |
|---|---|---|
| Setup | 2 min | Wrist circles, cat-cow, dead bug — wake the proprioceptors |
| Execution | 10–12 min | 5–7 targeted poses, 5–8 breaths each |
| Regression work | 3–5 min | Soft-tissue prep or easier versions of harder poses |
Sample session, week one:
- Dead Bug, 6 reps per side. Brace the lumbar spine flat to the floor before each rep. Press the heel out long.
- Cat-Cow, 6 slow rounds. Full exhale on the round, full inhale on the arch.
- Downward-Facing Dog, 5 breaths. Micro-bend the knees if hamstrings pull into the sit bone. Press the floor away with the hands. Pull the armpits toward the hips.
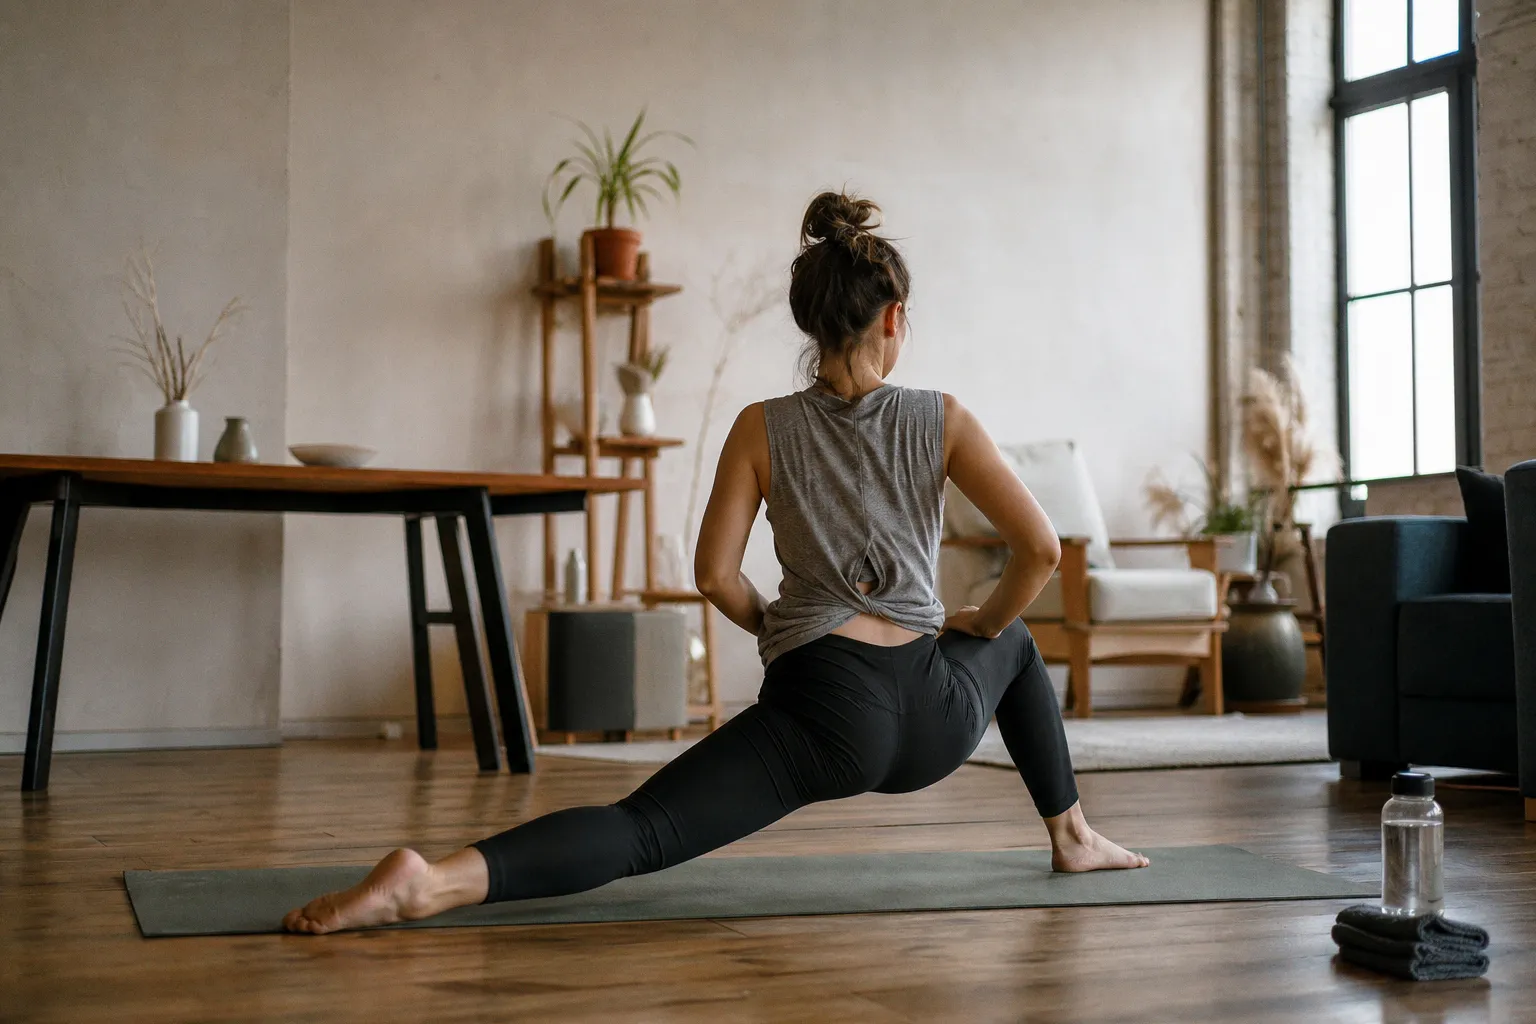
- Low Lunge (right), 5 breaths. Squeeze the back glute. Drop the pelvis straight down. Stack the front knee over the ankle.
- Low Lunge (left), 5 breaths.
- Standing Forward Fold with a strap looped around the feet, 5 breaths. Flat back. Chest lifted. Knees soft if needed.
- Child's Pose, 6 breaths.
Total volume: about fourteen minutes. Add one new pose per week. Not one new flow — one pose.
By week four, Downward Dog will start looking like Downward Dog instead of a melting capital A. By week eight, forward folds stop hurting. None of that comes from a flow video. It comes from repetition, control, and the willingness to sit inside a single position long enough for the body to actually learn it.
The Bottom Line
Beginning yoga at home isn't hard because you're inflexible. It's hard because the practice makes demands on proprioception, tendon tolerance, and joint stability that beginners simply haven't been trained for — and most online content tells you to ignore those demands and follow the flow. Don't. Pull your shoulder blades down your back before every load-bearing pose. Brace the core like you're about to take a hit. Squeeze the muscles you're trying to stretch instead of yanking them. Stiffness isn't a defect — it's data. Read it, train around it, and the mat will stop feeling like enemy territory.