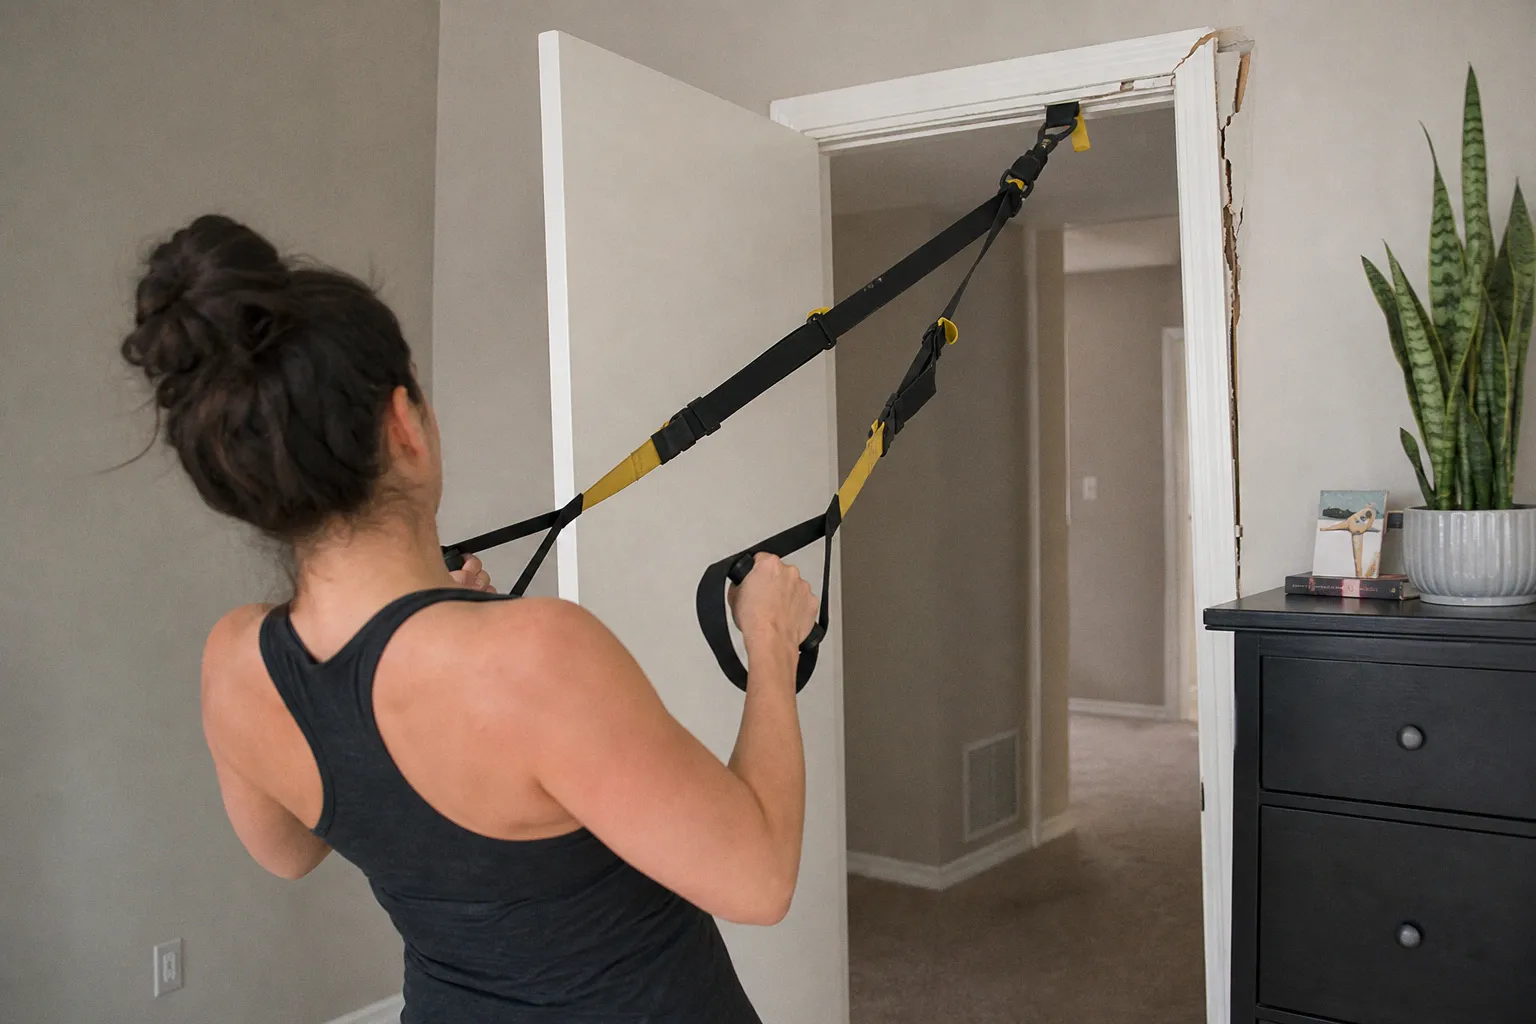
You looped the anchor over the top of the door. You locked the latch. You knocked out a set of inverted rows, a few fallouts, maybe some atomic push-ups. The door held. You walked away thinking the setup was fine.
Why Door Frames Break Under Suspension Trainers
It wasn't fine. You just got lucky.
Here's the truth most home training setups ignore: a standard residential door frame is not engineered for what a suspension trainer puts on it. The forces are dynamic, multi-directional, and routinely hit two to three times your bodyweight. The MDF trim holding your door in place was built to hold a static slab of wood at rest. It was not built to take a hit from a 180-pound athlete doing plyometric rows.
If your training depends on a flimsy anchor point, you're not training. You're gambling.
The door frame doesn't care how many reps you did last week. It cares about the single rep where the force peaks — and that peak is where the failure lives.
The Hidden Physics: Dynamic Force vs. Static Door Design
Newton didn't write F=ma as a suggestion. Force equals mass times acceleration. The moment you add momentum to a suspension movement — a swing into a row, a drop into a push-up, an explosive knee tuck — the load on the anchor point spikes hard.
Manufacturer testing and certified trainer guidance put that multiplier at 2x to 3x bodyweight during dynamic movement. A 180-pound athlete doing explosive rows generates 360 to 540 pounds of force at the anchor. During a controlled eccentric on a single-arm row, you're still looking at well over 200 pounds of shear load on whatever the strap is looped over.
Now look at what a door frame is actually built for. Residential interior doors weigh somewhere in the 30 to 100-pound range depending on core type. The frame exists to hold that slab in place and provide a clean finish edge against the drywall. The visible molding around the door — the trim — covers the gap between the drywall and the rough framing. It's not a structural beam. It's milled wood or MDF nailed into the jack stud.
When the door frame was designed, the engineer solved a static load problem. The suspension trainer is a dynamic load problem. Different physics, different materials, different outcome. Every time you load that trim, you're testing a part of your house that was never designed to be tested.
Anatomy of a Failure: Why MDF and Hollow-Core Wood Snap
Walk into any tract home built in the last thirty years and pull the trim off a door. There's a good chance you'll find medium-density fiberboard — MDF — or hollow-core construction. MDF is an engineered wood product: fibers compressed with resin and pressed into a dense board. It machines clean. It paints well. It also splits, swells, and snaps under load without warning.
Hollow-core doors are worse. The face panels are thin veneers over a cardboard or foam honeycomb core. The door itself flexes under pressure. Loop a suspension anchor over a hollow-core door and pull hard, and the door bows inward like a cereal box. The hinges — typically three of them, each held in place by a handful of screws — were never rated for that kind of cyclic loading.
When the trim is MDF and the anchor pulls downward and outward at the same time, the trim has two ways to fail. It can split along its length, cracking clean through and dropping the anchor mid-rep. Or it can pull away from the wall, the finish nails backing out of the jack stud as the trim pivots around the door stop. Both failures happen fast. Neither gives you a warning creak.
Solid wood trim on an older home holds up better. So does a solid-core door. But "better" is relative. You're still loading a piece of finish carpentry with forces it was never tested for. The failure mode is the same. The timeline is just longer.
The Shear Force Problem: How Lateral Pulls Destroy Door Casings
The worst direction for a door frame isn't straight down. It's lateral. When you row, perform a fallout, or work single-arm on a suspension trainer, the pull isn't purely vertical — it's angled. The strap runs from the anchor down to your hand at maybe a 30 to 45 degree angle from vertical. The force on the anchor point isn't just your bodyweight. It's your bodyweight split into a vertical component and a horizontal component, both pulling at once.
That horizontal component is shear force. It's the same force that tries to push the top of a fence post sideways when you pull on a rope tied to it. It acts perpendicular to the fastener holding the trim in place.
The trim around a door is held by finish nails — typically 1.5 to 2.5 inches long, driven through the face of the trim into the jack stud behind the drywall. Those nails are excellent at resisting vertical loads. They are mediocre at resisting lateral loads. Under repeated shear, the nails loosen in the wood fibers. The trim begins to shift. Eventually the nail heads pull through the face of the MDF — or the wood around the nail shaft crushes and the trim slides off the wall.
This is why door-mounted suspension setups fail during the eccentric phase of a row, not the concentric. The eccentric is when you're controlling the load back up, and the strap is pulling hardest at an angle away from the door. That's peak shear. That's where the trim tears free.
Beyond the Trim: Risks to Hinges and Door Integrity
Even if the trim somehow holds — say you've got an older home with solid wood casing — the door itself becomes the weak link. A standard interior door is hung on three hinges, each secured with screws driven into the door edge and the jamb. The screws bite less than an inch into soft pine.
When you load the top of the door with a dynamic suspension anchor, you're applying force to the door where it has the least mechanical advantage: the top edge, opposite the hinges. The door wants to rotate. The hinges resist. The screws in the top hinge take the brunt.
If the door isn't locked, the latch isn't engaged, and the door is a hollow-core unit, you'll see the door swing open under load — sometimes partway, sometimes all the way. The anchor slides off. The straps snap back. That's the best-case scenario.
The worse scenario: the door holds, but the top hinge screws back out of the jamb over weeks of repeated training. The door begins to sag. The latch no longer catches. Eventually the top hinge pulls free mid-rep, and you've got a door swinging down on top of you mid-row.
This failure pattern is consistent enough that ACE Fitness and TRX both flag the door-not-locked scenario as a primary risk in their own safety documentation. The fix is trivial — lock the door, every single set — but the failure mode keeps showing up because most people skip the step.
Safe Alternatives: Moving from Door Anchors to Structural Mounting
The door frame isn't a structural anchor point. Treating it like one is how you end up with a broken door, a torn-up wall, or a trip to urgent care. If you're training on a suspension system more than a few times a month, you need a mount that's rated for the load. Here's how the options stack up:
| Mount Type | Structural Anchor | Install Effort | Best For |
|---|---|---|---|
| Door anchor (solid-core only, locked) | Door + trim, no stud | None | Travel, bodyweight-only sessions |
| Wall bracket into stud | 2x4 or 2x6 wall stud | Drill + lag bolt | Permanent home install |
| Ceiling eye bolt into joist | Floor joist or blocking | Drill + eye bolt | Basement or garage |
| Standalone power tower / rig | Floor contact | Assembly, no drilling | Renters, no-modification setups |
| Outdoor mount (beam, rated branch) | Tree, structural beam | Varies | Backyard, park |
Wall-mounted bracket into a stud. The gold standard for home suspension setups. A heavy-duty bracket — typically a 6-inch steel plate with a reinforced anchor loop — bolts directly into the side of a wall stud using a 3/8-inch lag bolt with at least 2.5 inches of thread engagement. Use a stud finder. Mark the stud center. Predrill. Drive the lag. A properly installed bracket holds well over 1,000 pounds.
Ceiling mount into a joist or blocking. If you train in a basement or garage with exposed joists, a ceiling-mounted eye bolt into the side of a joist is another solid option. A 2-inch eye bolt with a washer, driven at least 1.5 inches into solid lumber, will hold dynamic loads indefinitely.
Standalone rig or power tower. No mounting required. A freestanding pull-up station or squat rack with a suspension attachment point gives you a stable anchor without modifying your home. Heavier, less convenient, but the simplest solution for renters.
Outdoor suspension points. Tree branches rated for climbing, monkey bars at a local park, a properly rated beam on a porch. Verify the anchor before you load it. Shake it. Pull it. Trust your hands.
If you must use a door anchor. Lock down the rules. Solid-core door only. Lock the door every single set. Place the anchor above the top hinge, never over the trim. Skip plyometrics, skip explosive swings, skip extreme single-arm angles. And accept the reality: you're training on a temporary, training-grade solution, not a permanent install.
And here's the thing about load-bearing calculations — whether you're sizing an anchor point or sizing a long-term investment portfolio, the discipline is identical. You don't eyeball the math. You don't cut corners on the install. You don't assume it held once so it'll hold forever. The physics either work or they don't.
Setup Protocol: Verifying Your Anchor Before You Train
Before you load any suspension anchor with your bodyweight, run this checklist. No shortcuts. No "I'll do it next time." Run it every install and re-run it monthly.
1. Locate the structural member. Stud finder on the wall. Tap the ceiling for joists. Mark the centerline. If you can't find a solid mount point, you don't have a setup — go find one.
2. Verify fastener grade. Lag bolts, not wood screws. Eye bolts with washers, not S-hooks. Minimum 3/8-inch diameter. Minimum 2.5 inches of thread engagement for wall installs.
3. Pre-load test. Stand on the anchor with both feet. Bounce. Pull at multiple angles. The anchor should not shift, creak, or flex. If it does, the install is wrong. Pull it out and redo it.
4. Test under dynamic load. Run ten explosive bodyweight rows at a moderate angle. The anchor should feel identical to how it felt under static load. Any new creak, any shift, any visible movement in the wall — stop training immediately.
5. Re-check monthly. Wood moves. Screws loosen. Wall finishes crack. Inspect the mount before every session for the first month, then weekly after that. Look for nail pull-out, hairline cracks in drywall around the mount, or any play in the anchor.
This is the protocol. Follow it and your suspension setup will outlast the trainer you bought. Skip it and you'll find out what failure looks like — and failure with 300+ pounds of force behind it is not something you walk away from cleanly.
The difference between a training setup and a hazard is five minutes of verification. Do the work. Train hard. Don't bet your face on a piece of trim.